
Delayed onset muscle soreness sets in around 12 to 24 hours after a hard training session and peaks somewhere between 48 and 72 hours. If you have ever dragged yourself down a set of stairs two days after a heavy squat session, you know exactly what that feels like. A percussive massage gun like the Theragun Relief can take the edge off that stiffness significantly, but only if you use it with something resembling a protocol. Random passes over a sore muscle for 20 seconds are not going to do much. The technique matters.
We put together this guide because most people who own a massage gun are using it wrong, and a lot of them quietly conclude the gun is overhyped. It usually is not. The Therabody Theragun Relief delivers 30 pounds of stall force at up to 2400 percussions per minute across three speed settings. That is enough output to reach the deeper tissue layers in large muscle groups like the quads, hamstrings, and glutes when used correctly. The following protocol walks through each major muscle group step by step, with the right attachment, the right speed, and the right duration. Follow it once and the difference in how you feel the next morning is noticeable.
Your muscles are tight right now. Here is the gun that makes this protocol work.
The Therabody Theragun Relief is the tool this entire guide is built around. Quiet enough to use in a hotel room, powerful enough to actually reach deep tissue. 4.6 stars across 2,472 Amazon reviews.
Amazon Check Today's Price on Amazon →Before You Start: Two Rules That Apply to Every Muscle Group
First rule: never park the gun on one spot and hold it there. Percussive therapy works best when the head is gliding slowly over the muscle belly. Think about it like a deep-tissue pass rather than a static press. Move at roughly one inch per second. If you park it, the tissue accommodates to the pressure and the benefit drops off.
Second rule: stay off joints, bones, and the spine. Massage gun heads are built to work on muscle tissue. Running the gun directly over a kneecap, an ankle bone, a shin, or anything along the vertebral column is uncomfortable at best and pointlessly jarring at worst. Come right up to the muscle's edge near the joint and stop there. The muscle belly is the target.
Step 1: Quads and Hip Flexors (2 minutes per leg)
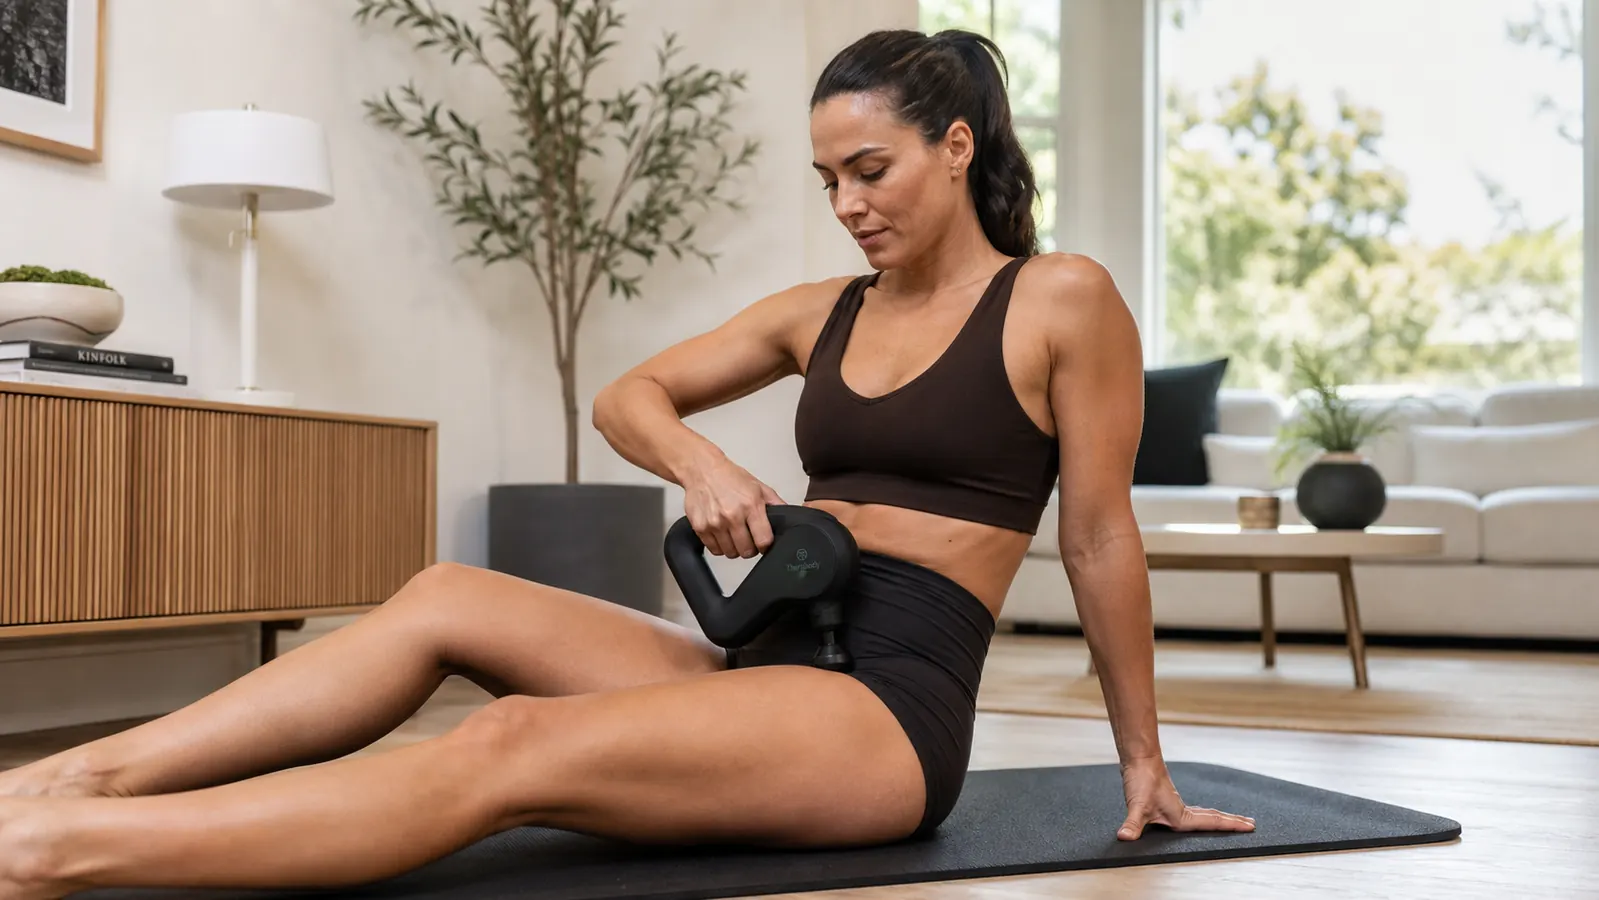
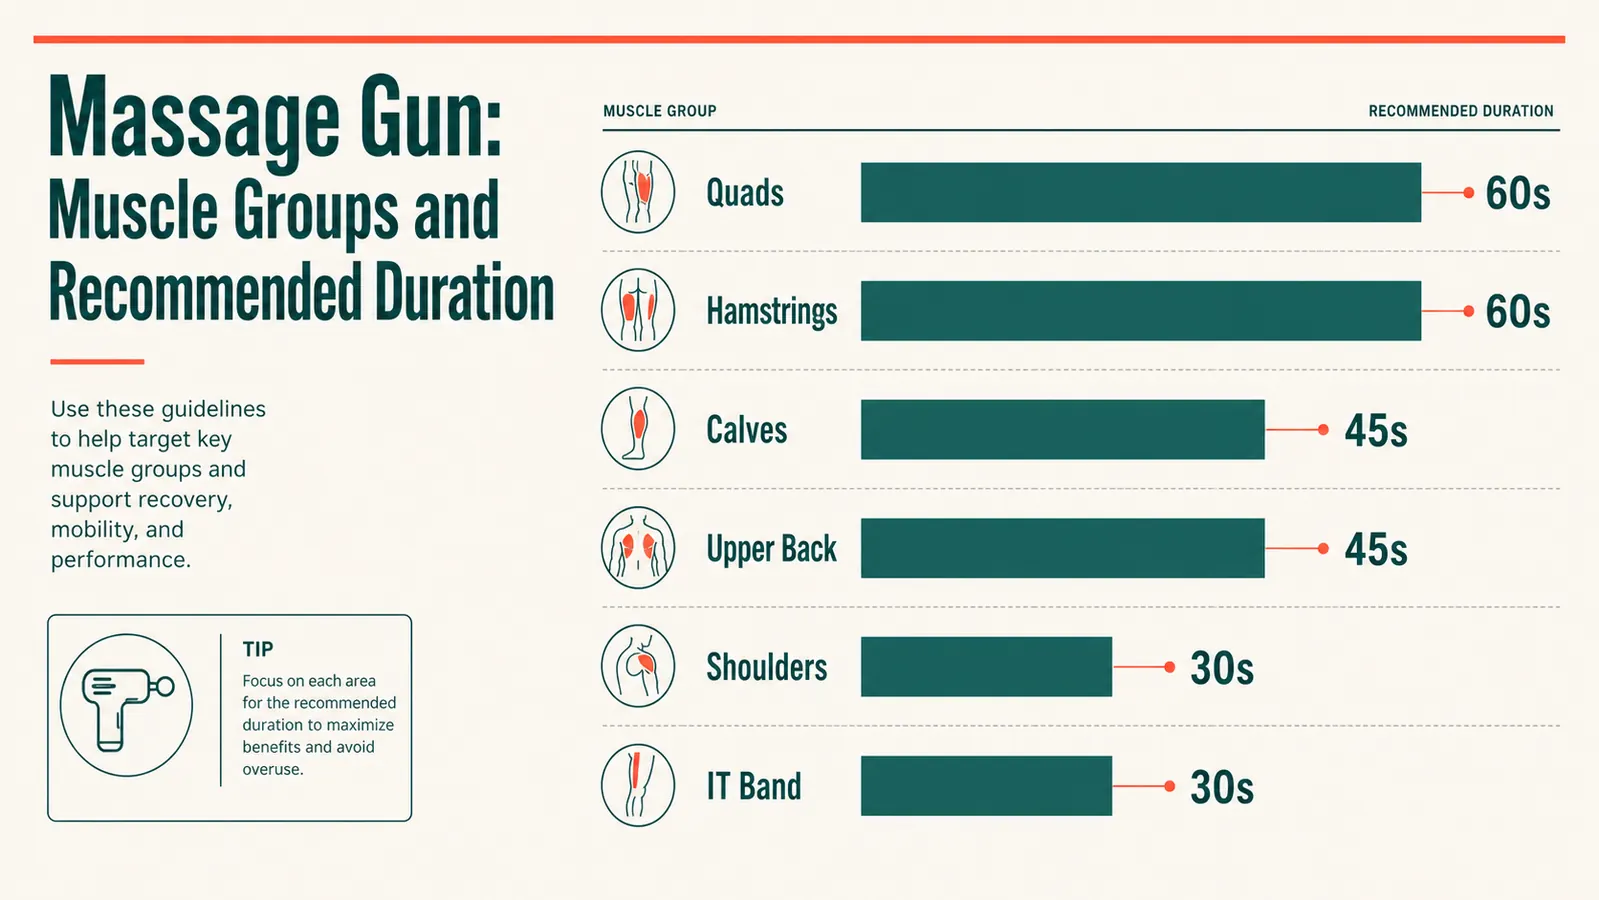
The quads take the most punishment in lower-body training and are often the first place DOMS shows up. Use the large round foam ball attachment for this group. Start on the lowest speed setting, especially in the 24 to 48 hour window after training when the tissue can be genuinely tender. Begin at the hip crease and make slow, continuous passes down toward the top of the kneecap. Work in three overlapping strips: the inner sweep (inner quad and VMO), the middle sweep (rectus femoris), and the outer sweep (lateral quad). Spend about 40 seconds per strip.
For the hip flexors, position the gun just below the ASIS, which is the bony point at the front of the hip you can feel when you press inward. The hip flexors run in a roughly diagonal line from there into the inner thigh. Keep the pressure moderate and the speed on low or medium. Hip flexors are a smaller, deeper group and tend to respond well to lighter work. Two minutes total on this area, 90 seconds on the quad, 30 seconds on the hip flexor region.
If the tissue feels acutely painful on the lowest setting within the first 24 hours, skip the gun entirely and come back to it at the 36-hour mark. The goal is mild to moderate pressure that feels like relief, not a compression test.
Step 2: Hamstrings and Glutes (2 minutes per side)
The hamstrings are a three-muscle group running from the sitting bones down to the back of the knee. For this group, a flat head or dampener attachment is preferable to the round ball because you can cover more surface area per pass. Start with the gun at the top of the hamstring, just below the glute fold. Keep your speed at medium. Work in two strips: the medial hamstrings (biceps femoris on the outer edge) and the lateral hamstrings (semimembranosus and semitendinosus on the inner edge). Each strip takes about 45 to 50 seconds.
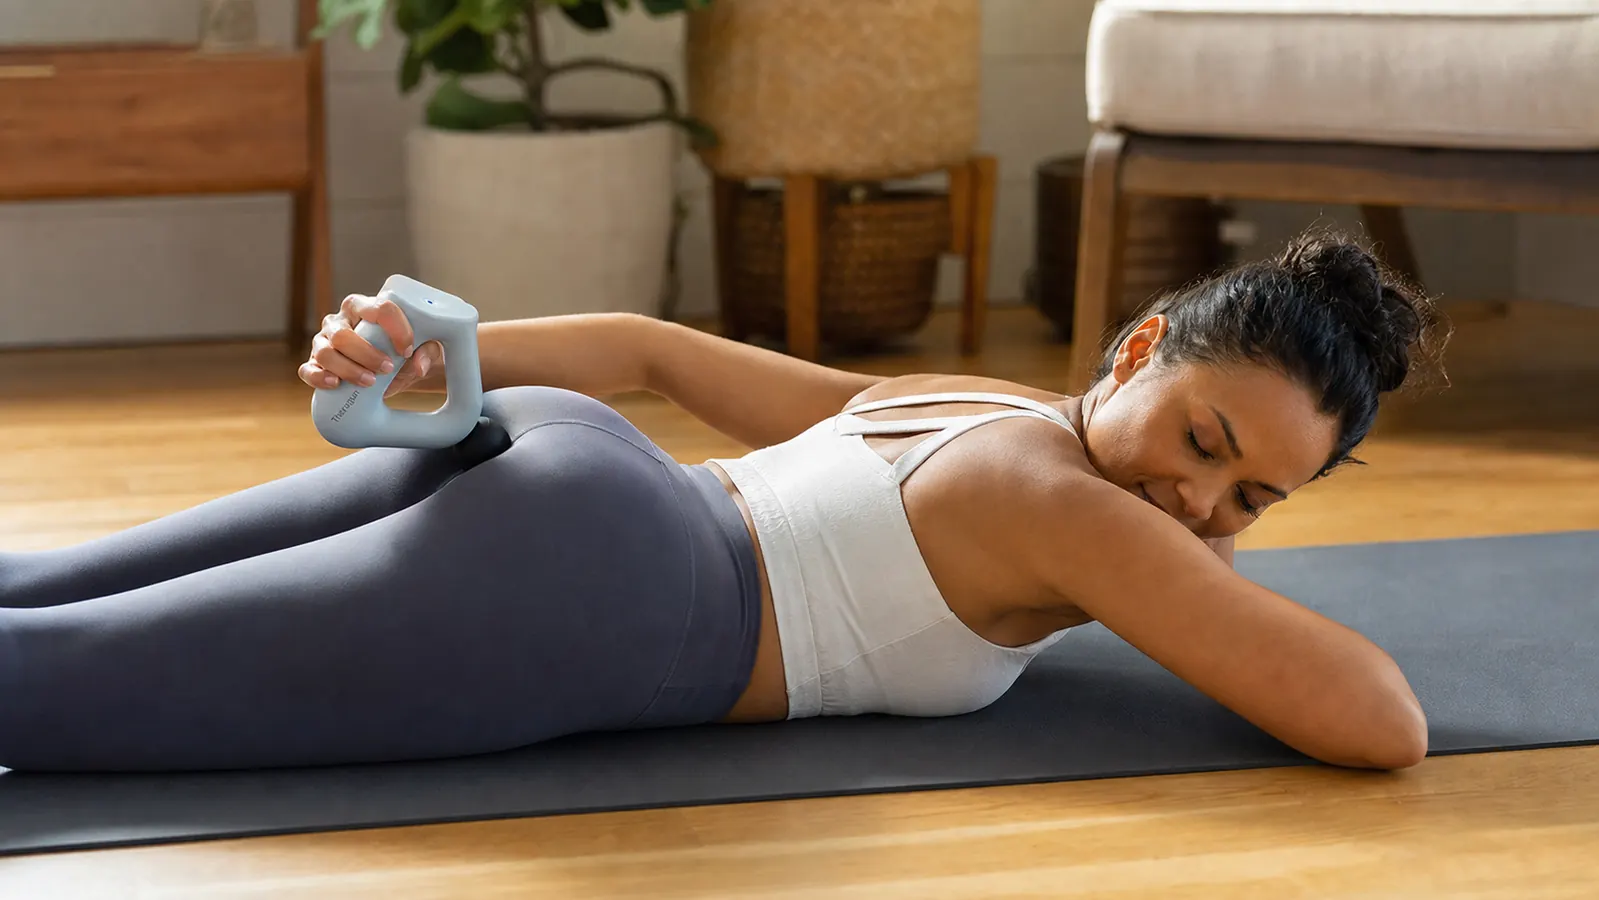
Transition directly into the glutes by moving the gun up over the glute fold. The gluteus maximus is one of the largest muscles in the body and typically handles higher speeds and more pressure than smaller groups. If the Theragun Relief is set to medium during the hamstring pass, move it to the high setting for the glutes. Work from the sacrum outward toward the lateral hip, covering the full width of the glute. Some people find it easier to roll slightly to one side and let the weight of the leg relax the tissue. That small shift noticeably deepens the effect.
Step 3: Calves and Tibialis Anterior (90 seconds per leg)
Calves are the muscle group most people under-address. After any run, heavy lower-body day, or sport with significant cutting and jumping, the gastrocnemius and soleus can become extremely knotted. The Theragun Relief's compact design makes it easy to position under the calf while sitting on a bench or on the floor with one leg extended. Use the round ball attachment and a medium speed setting. Start just below the back of the knee and work in a straight line down toward the Achilles tendon, stopping an inch above the tendon itself. The calf has a narrow profile, so a single center strip is usually enough unless the muscle is unusually wide.
The tibialis anterior is the long, thin muscle running up the outer shin. It gets worked hard in any activity involving dorsiflexion, including running, hiking, and box jumps. Switch to the lowest speed for this muscle since it is smaller and sits close to the shinbone. Work a single strip from the lateral knee down toward the ankle in a slow diagonal line. Thirty seconds is enough here. The goal is to reduce any cramping or pulling sensation along the front of the lower leg.
Step 4: Upper Back, Traps, and Lats (2 minutes, self-apply or partner)
This is where the Theragun Relief's ergonomic handle shape becomes genuinely useful. The 90-degree grip allows you to reach between your shoulder blades and down your upper back without contorting your arm. For the upper trapezius, which runs from the base of the skull to the shoulder tip, use medium speed and the round ball attachment. Work along the ridge of muscle from the neck outward toward the shoulder cap. Do not run the gun directly on the cervical vertebrae. Stay on the muscle belly, which runs parallel to the spine and out over the shoulder.
For the lats, the gun works best from the side. The latissimus dorsi runs from the mid-back down and around to the underarm area. With your elbow raised, work from the lower edge of the shoulder blade down toward the hip crest. This is one of those spots where a training partner makes the protocol significantly easier, but the Theragun Relief's reach is good enough that most people can manage it solo on at least the mid and lower lat.
A percussive massage gun does not eliminate soreness entirely, but following a consistent protocol on the right muscle groups means the difference between waking up at a 3 out of 10 stiffness and a 7 out of 10 stiffness. That gap is a full training day.
Step 5: Timing Your Sessions for Maximum Effect
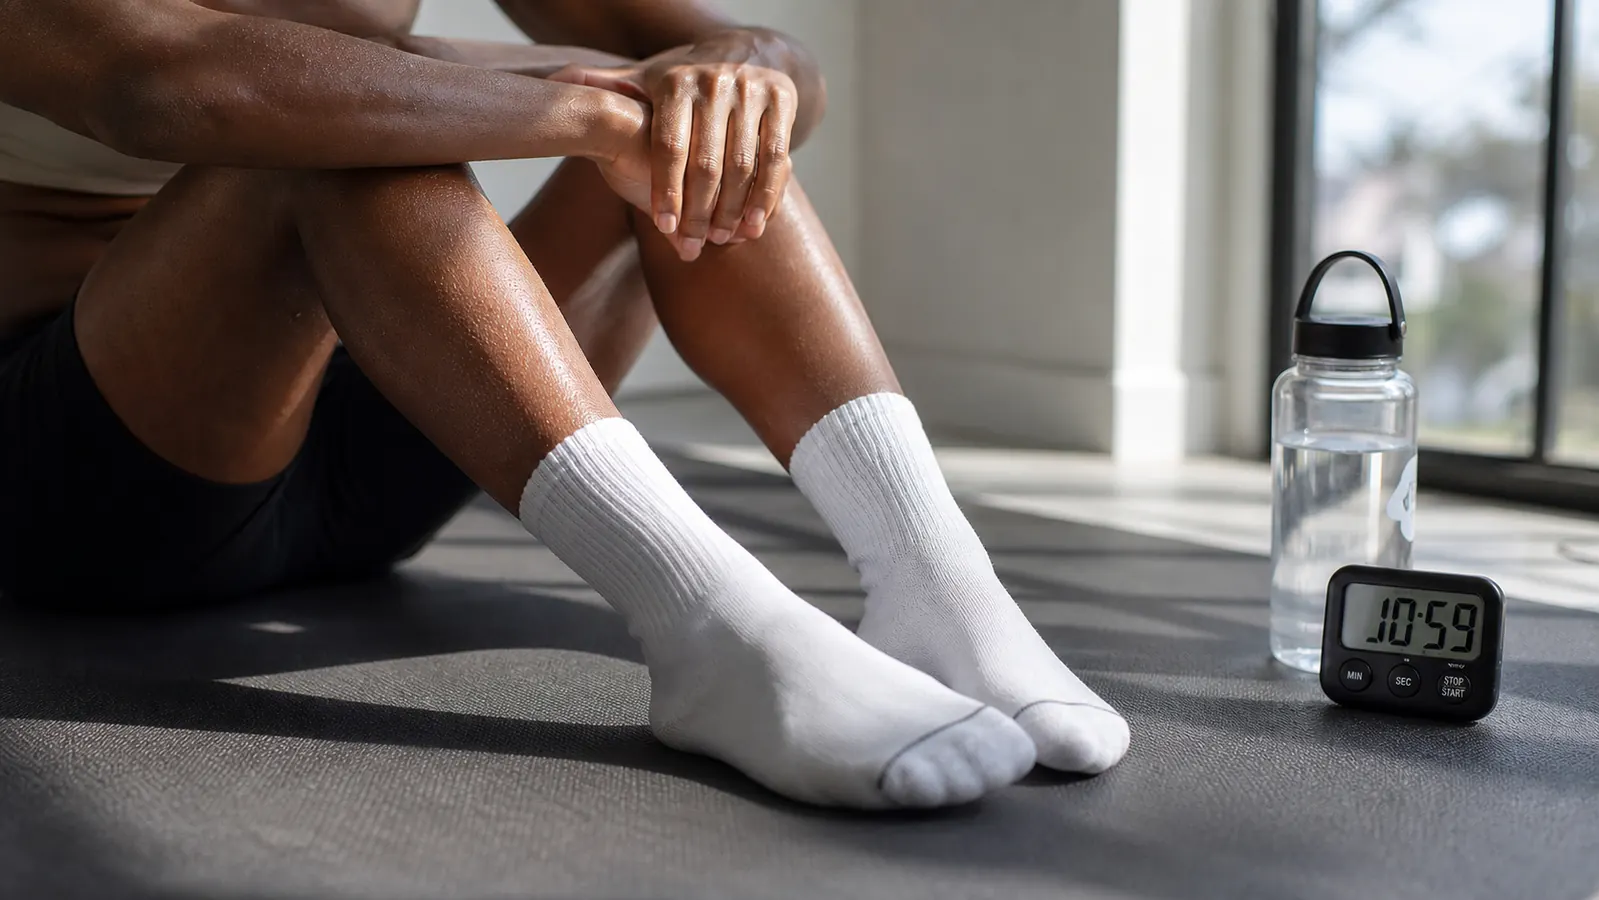
The question we get most often is when to use the gun, not how. There are three effective windows. The first is within 15 minutes of finishing your workout, before DOMS has a chance to take hold. A two-minute pass on each worked muscle group while the tissue is still warm can noticeably reduce the severity of next-day soreness. Keep the session short and the speed on low or medium during this window. The goal here is circulatory, not deep mechanical.
The second window is the 24 to 48 hour mark, which is when most people reach for their gun. This is the peak DOMS period. The protocol described in steps 1 through 4 applies here. Use the full 8 to 10 minutes, work through each muscle group systematically, and give the tissue 30 seconds of rest between major groups. You should feel the tension ease during the session, though some mild soreness is normal afterward.
The third window is a light 5-minute pre-session activation run. Before a workout, a quick low-speed pass over the muscles you are about to train increases local blood flow and can improve initial range of motion. This is not a warmup replacement. Do a real warmup. But the gun adds a layer of preparatory circulation that many athletes find useful, especially on a second consecutive training day.
What Else Helps: Stacking the Theragun Relief With Other Recovery Tools
The Theragun Relief works best when it is one part of a recovery stack rather than the whole thing. Hydration matters more than most people realize. Dehydrated muscle tissue responds poorly to percussive work, so drink water before and after your session. Protein intake in the 30 to 60 minutes after training gives the tissue what it needs to begin the repair process that makes you actually stronger. The gun aids circulation and reduces mechanical tension, but it cannot substitute for the raw materials of recovery.
Sleep is the most underrated recovery tool of all. The gun can ease the discomfort that keeps people from getting quality sleep, which is a meaningful secondary benefit. If post-workout soreness is waking you up or making it hard to get comfortable, a short 5-minute gun session before bed can reduce that tension enough to sleep through the night. That sleep payoff alone justifies building the protocol into a nightly habit after hard training days.
For more on the science behind why percussive therapy helps, see our detailed breakdown in 10 reasons a massage gun speeds up muscle recovery. If you are still deciding whether the Theragun Relief is the right tool for your kit, our long-term review after 4 months of daily use covers everything the spec sheet does not.
Follow this protocol for one week. You will notice the difference by Wednesday.
The Therabody Theragun Relief is the massage gun this protocol is built around. Quiet, powerful, and well-designed enough that you will actually pick it up every day. Check today's price and available colors on Amazon.
Amazon Check Today's Price on Amazon →